Who hasn’t joined a Discord call only to hear that one friend who sounds like they’re talking through a drive-thru speaker? We’ve tested dozens of microphones across hundreds of gaming sessions, and let us tell you – the right mic makes all the difference! A recent study by Stream Scheme showed that 72% of viewers cited poor audio quality as their main reason for leaving a gaming stream. Whether you’re coordinating with your squad or building your streaming empire, we’ll help you find the best microphones for gaming commentary!
Types of Gaming Microphones
Let’s dive into the world of gaming microphones! We remember when we first started streaming, and boy, did we make some rookie mistakes. Our first setup involved a $10 microphone that picked up every keystroke, mouse click, and even the neighbor’s dog barking!
Understanding microphone types is crucial for making an informed decision. USB microphones are perfect for beginners – just plug them in and you’re ready to go! We’ve found them to be incredibly user-friendly, though they might not offer the same level of control as their XLR counterparts.
Speaking of XLR microphones, these bad boys are what you’ll find in professional broadcasting setups. They require an audio interface, which might seem daunting at first, but trust us – the sound quality is worth the extra effort! We learned this the hard way after upgrading from our budget USB mic to an XLR setup. The difference was like going from standard definition to 4K!
The polar pattern of your microphone is another game-changer. Most gamers will want a cardioid pattern, which primarily picks up sound from the front while reducing background noise. We’ve tested omnidirectional patterns too, but unless you’re recording a podcast with multiple people around one mic, stick with cardioid.
Top USB Microphones for Gamers
After countless hours of testing and perhaps a few impulse purchases, we’ve narrowed down the best USB microphones for gaming. The Blue Yeti remains a popular choice, and for good reason! Its versatility and sound quality are impressive for its price point.
The Elgato Wave:3 has become our go-to recommendation for new streamers. The integration with Wave Link software is fantastic for mixing different audio sources, and the clipguard feature has saved our viewers’ ears more times than we’d like to admit!
For those on a tighter budget, the HyperX QuadCast S offers incredible value. The touch-sensitive mute pad and RGB lighting might seem gimmicky, but they’re genuinely useful features during intense gaming sessions. Plus, the built-in shock mount is a nice touch that many premium microphones don’t include.
Remember when we mentioned software customization? Most modern USB gaming microphones come with their own software suite. These programs let you adjust gain, add noise suppression, and even apply voice effects. We’ve found that a slight bass boost can make your voice sound more broadcast-ready, but don’t go overboard!
Professional XLR Options
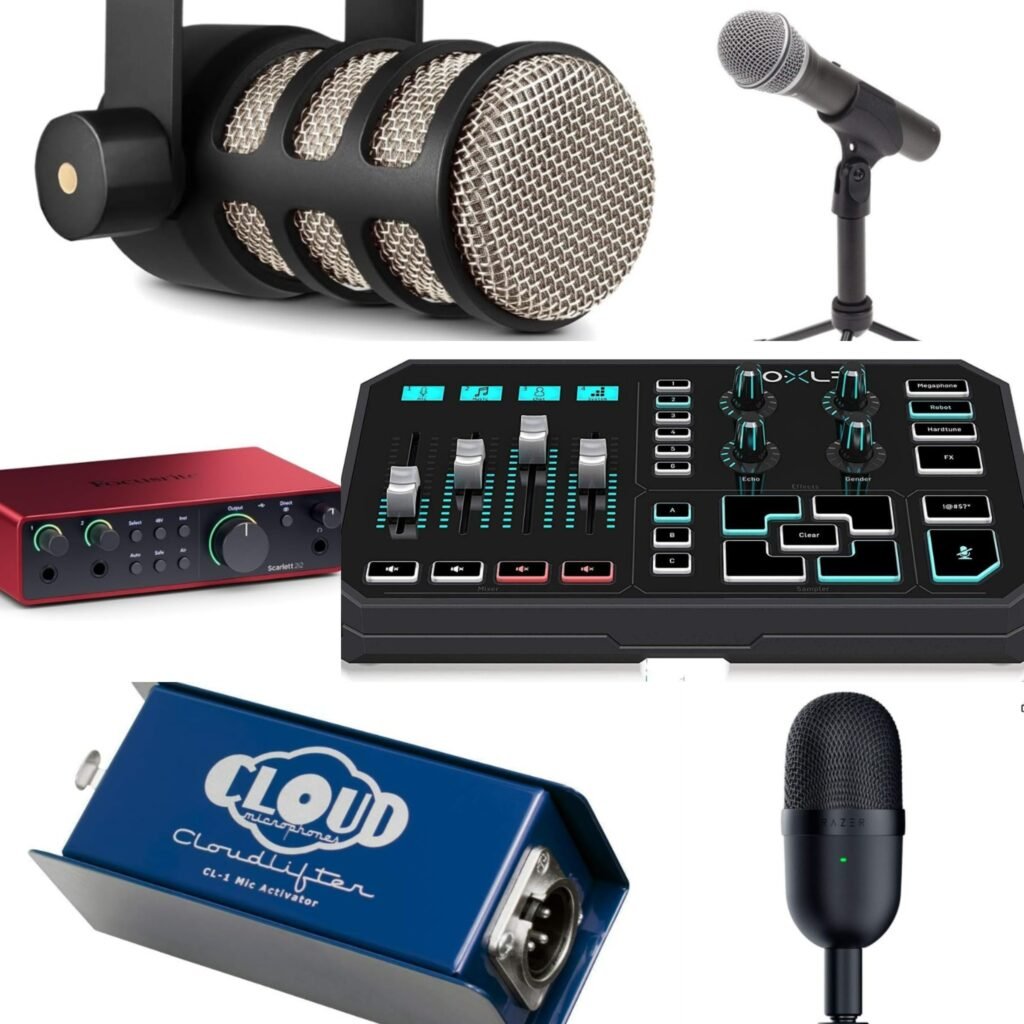
Moving into the professional realm, XLR microphones open up a whole new world of possibilities. The Shure SM7B is the holy grail of gaming and streaming microphones – there’s a reason why you’ll see it in almost every major streamer’s setup!
However, here’s something many guides won’t tell you: you’ll need a pretty powerful preamp to drive the SM7B effectively. We learned this the expensive way when we first got ours and couldn’t figure out why it was so quiet! The Cloudlifter CL-1 solved this issue, though it did add to the overall cost.
The Rode PodMic offers exceptional value in the XLR space. It’s built like a tank and delivers warm, natural vocals without breaking the bank. We’ve dropped ours twice (don’t tell anyone), and it still works perfectly!
Remember that with XLR microphones, your audio interface matters just as much as the mic itself. The Focusrite Scarlett series has served us well, providing clean preamps and reliable performance. The GoXLR is another popular option, especially among streamers, thanks to its integrated mixing capabilities.
Budget-Friendly Recommendations
Listen up, because this is where we can save you some serious cash! You don’t need to spend a fortune to get great audio quality. The Samson Q2U has been our secret weapon for budget setups – it offers both USB and XLR connections, giving you a clear upgrade path for the future.
The Razer Seiren Mini is another hidden gem. Don’t let its small size fool you; this little mic packs a punch! We’ve used it for several backup recordings, and honestly, most listeners couldn’t tell the difference between it and more expensive options.
One budget tip we wish we’d known earlier: invest in a good boom arm before upgrading your microphone. A $50 mic on a good boom arm often sounds better than a $200 mic sitting on your desk, picking up all those keyboard vibrations!
Essential Features for Gaming Commentary
Now, let’s talk about the features that can make or break your gaming commentary. Noise cancellation is crucial – your teammates don’t need to hear every click of your mechanical keyboard! Look for microphones with built-in noise suppression or ones that work well with software solutions like NVIDIA Broadcast.
Microphone monitoring (or sidetone) is another game-changer. Being able to hear yourself helps prevent shouting during intense gaming moments. We’ve all been there – taking off our headphones only to realize we’ve been yelling for the past hour!
Pop filters aren’t just for professional recording studios. Those harsh plosive sounds (the ‘p’ and ‘b’ sounds) can really detract from your commentary. A simple mesh pop filter or foam windscreen can make a world of difference.
Setup and Optimization Guide
The perfect microphone won’t sound perfect without proper setup. Position your mic slightly off-axis (about 45 degrees) from your mouth to reduce plosives naturally. Keep it about 6-8 inches away – any closer and you’ll sound like you’re hosting a ASMR channel!
Basic acoustic treatment can transform your audio quality. We’re not saying you need to cover your walls in foam panels, but even a strategically placed blanket can help reduce room reflections. Our first “acoustic treatment” was a duvet hung behind our microphone, and it made a noticeable difference!
When it comes to software settings, start with these basics:
- Set your gain so your normal speaking voice peaks around -12dB
- Apply a noise gate to eliminate background noise when you’re not speaking
- Use light compression to even out your voice levels
- Consider a subtle EQ to enhance your voice’s natural characteristics
Common Microphone Issues and Solutions
Background noise getting you down? We’ve been there! First, check your mic’s gain settings – higher gain means more background noise. Using a noise gate in OBS or your microphone’s software can help eliminate unwanted sounds when you’re not speaking.
Echo and reverb usually mean your room is too reflective. Besides acoustic treatment, try positioning your mic closer to you and turning down the gain. This reduces the amount of room sound being picked up.
For wireless interference, keep your microphone away from other electronic devices, especially routers and smartphones. We once had mysterious interference that turned out to be coming from a wireless charger!
Conclusion
Choosing the right microphone for gaming commentary doesn’t have to be overwhelming! Remember that the best microphone isn’t always the most expensive one – it’s the one that fits your specific needs and setup. Consider your budget, space constraints, and technical expertise when making your choice.
Start with the basics, focusing on proper positioning and setup before spending big on premium equipment. And don’t forget – even the most expensive microphone won’t sound good without proper technique and settings!
We’d love to hear about your experiences with gaming microphones in the comments below. What’s your current setup? Have you made any interesting discoveries in your quest for better audio quality? Share your thoughts and help others in their journey to crystal-clear gaming commentary!